How To Draw a Peach Easily
How to Draw A Peach. There are many delicious fruits to enjoy on a hot summer day, but some are far more refreshing!
Also, check our Unicorn Coloring Pages.
A juicy peach is always a great option for a refreshing treat, but despite its simple structure, learning how to draw a peach can take more work than expected.
Don’t worry, though, because you’ve come to the right place to learn how to complete this challenge!
How to Draw A Peach
Step 1
A Peach can be recognized by its rounded shape with a sharp point, so in this first step of our how-to draw a peach guide, we’ll start with this shape outline.
The sides of the peach will come out very curved and rounded, almost as if we were starting to draw a circle. However, there will be the point we mentioned below.
Also, leave some space at the top of the peach; we’ll add some leaves here a little later.
Step 2
Peaches are not perfectly smooth balls and have a small indentation. You can draw this little jump in this step of your fishing drawing.
Drawing a line through the peach may be tempting, but it’s split into multiple lines.
First, you can draw a small line near the space you left above in the previous step.
Then you can draw a curved line that extends from just below this space detail to the middle of the peach.
Next, leave another small gap, and then draw another line to the top of the peach. That’s all for this step, and now you can proceed!
Step 3
In this part of our guide to drawing a peach, you can add a stem and a first leaf to your drawing.
The stem goes onto the peach and is drawn with fairly short wavy lines. You can draw a small circle at the top of the stem to show where it was cut.
Finally, the leaf is on the left side of the stem, pointing horizontally.
The leaf has a typical shape, broader and rounded at the base but tapering towards the bottom.
Step 4
You’ve already created a leaf for your peach drawing, so that you can draw the second one at this step.
This leaf is on the right side and extends horizontally like the previous one.
This leaf looks slightly different but is thinner than the peach and shaped to sit behind the stem.
This is because it extends backward when fishing. Now that both leaves are drawn, we can move on to some final details!
Step 5
We only have a few more details to add in this tutorial on how to draw a peach. This is also the step where you can add your fun details!
First, draw a line down the middle of each leaf for the central vein. Next, draw some slightly curved lines from the central vein for the smaller veins, as shown in our reference image.
This completes the final details of your fishing drawing! Before proceeding, make sure to add any additional details you want.
You could add a worm digging in the peach as an idea, or you could draw it on a plate with other fruits.
These are just two of the many ideas you could come up with. So what details and background elements will you choose to complete this peach for the final step?
Step 6
This brings us to the final phase of your peach drawing, and now you can sit back and have some coloring fun!
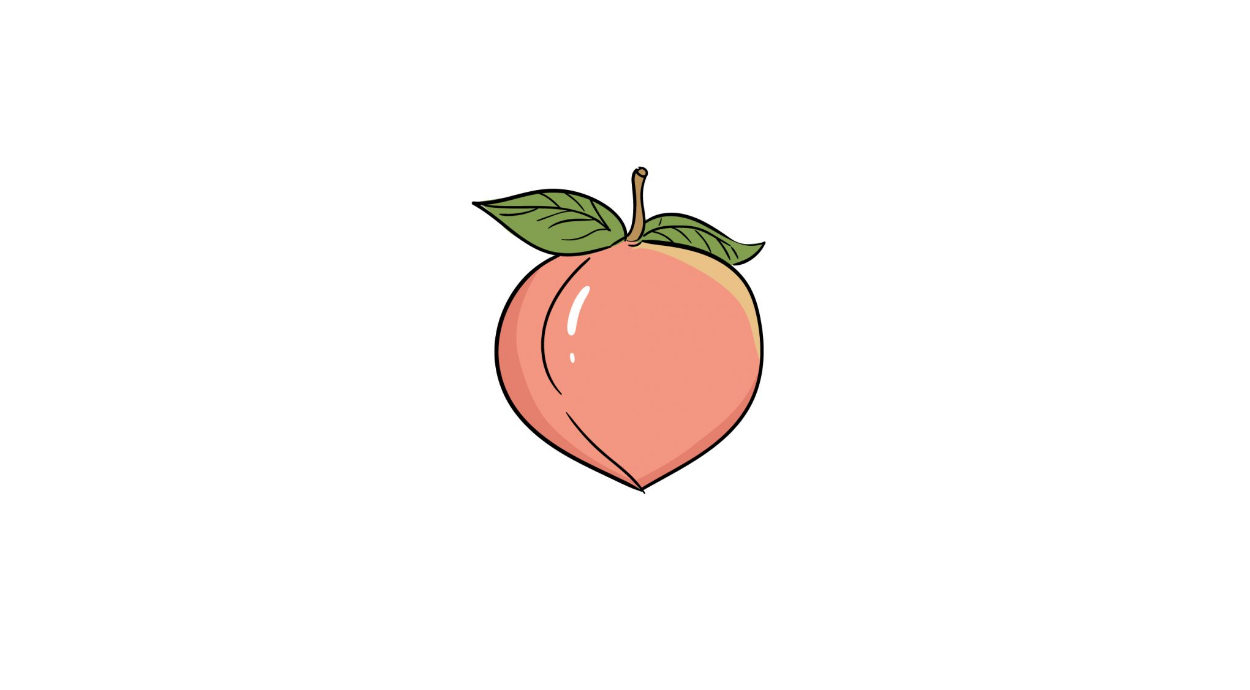
We used a typical peach color in our reference image, with tones of orange for the peach and green for the leaves to guide you if you want more realistic colors.
You could even get more stylistic with the colors if that’s what you prefer! Coloring additional details or background elements can also be a great way to add more color to the image!
You can also use some fun art media to add even more depth to your image.
Mediums like watercolors and acrylics can work wonders for images like this, but whatever you use will look amazing!
Your Peach Drawing is Finished!